If you’re the type of guy that likes to mess with the electric stuff of your car, be that lights or aux, than this is the perfect video for you. It’s not a hard thing to do, but it has a lot of tricks and that’s what this video will teach you to wire your car mods.
I have started to mess with my own car’s electrics lately, and to tell you the truth I have watched some video tutorials myself, and I have selected the best one. Chrisfix’s youtube channel is my favorite channel to go, when I want to make some car mods for myslef. His videos are always helpful and comprehensive, and since most of his videos are POV, that makes it even easier to understand the steps.
The video will take you through:
• Applications of solder (permanent installation of electrical accessories.)
• Tools required (available at your local auto parts, hardware shop or RadioShack if it still exists.)
• Safety (watch out it’s hot! Also toxic.)
• How to hook wires together (which type of splice to use and when.)
• Specific types of solder (not all are created equal, but always wash your hands after handling.)
• Secrets you might not know even if you’d done this before (don’t use acidic flux.)
• Tips to improve survivability car mods (silicone paste-wrap your solder job!)
• And the finishing touch (heat-shrinking wrap.)
The basic steps of a soldering project go:
• First, strip your wires.
• Then slip some heat-shrink tubing further back the wire (but not over your stripped-section yet.
• Add some flux to the wires.
• Splice the wires.
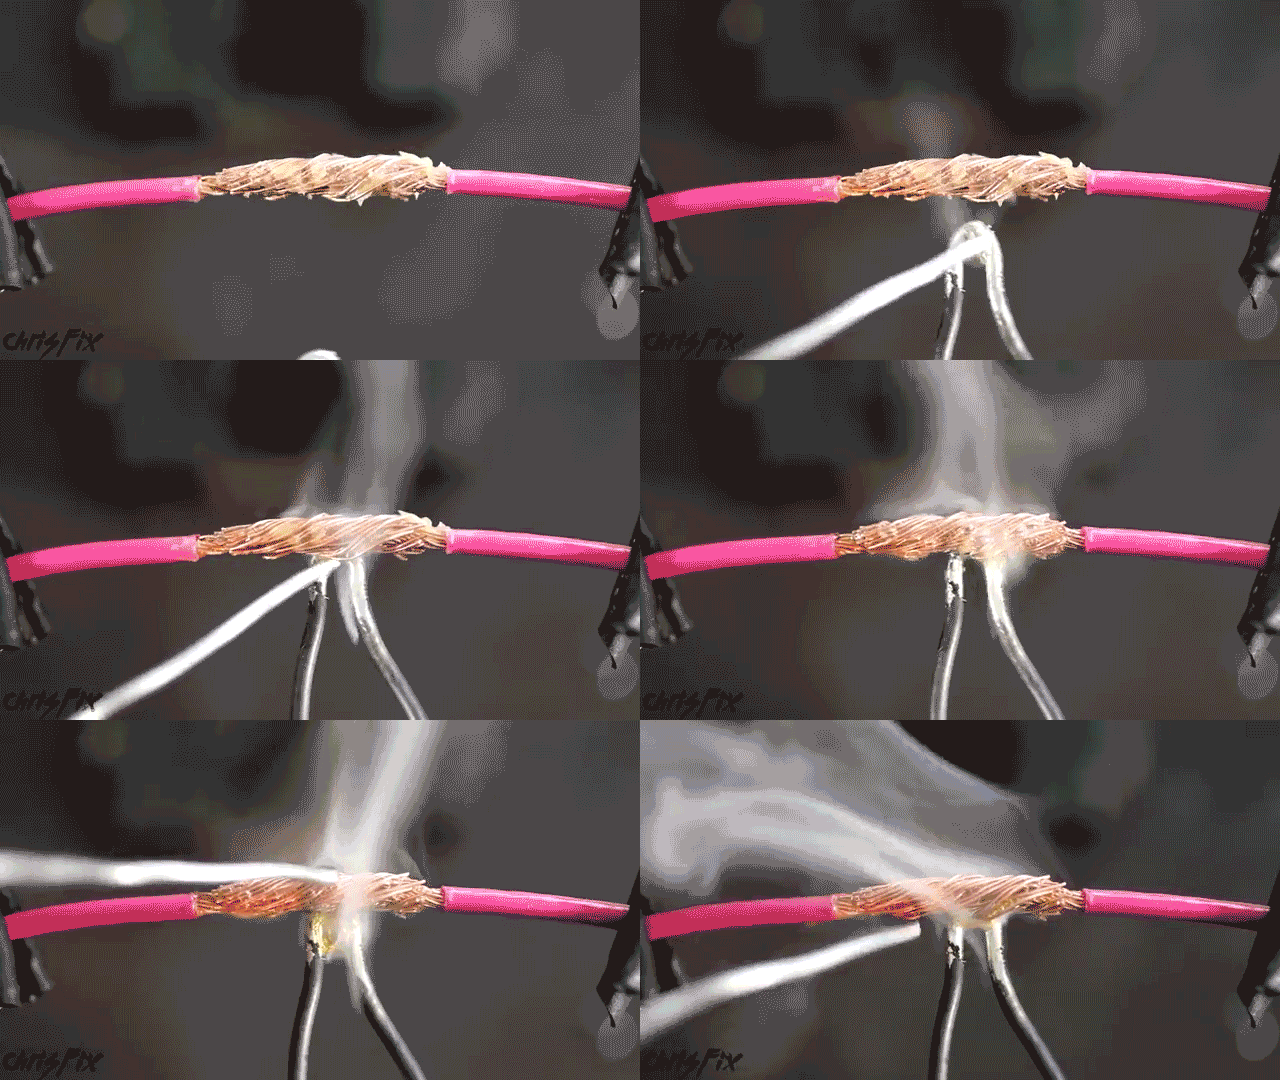
• Actually solder the wires– heat up the splice and melt the solder itself onto the connection.
• And finally, paste your wires and shrink the heat-shrink tubing around the connection.
This tutorial really makes it very simple to comprehend, and another tip we’ll give is to practice this skill before you use it on your car. You should know that every project is a lot less stressful when you practice.
You might also like: Forge Welding a Motorcycle Chain
car mods

